


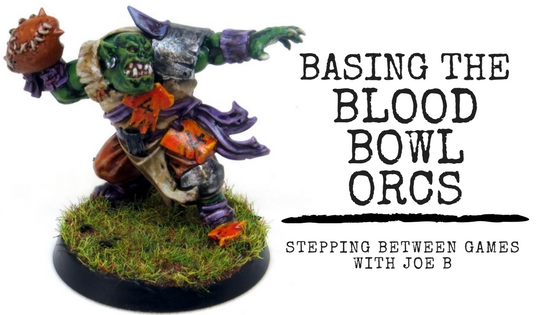
A miniature’s base can set the tone of where it is in the universe. It provides context and intrigue for what could be going on around this individual. But that doesn’t mean a nice-looking base has to be hard and take a lot of work. This is how I painted the bases for my Blood Bowl Orc Team.
Hey this is Joe from Broken Paintbrush stepping between blogs to share this tutorial with all the fine readers of Rory’s blog. Why? Well simply put, Rory asked me nicely 🙂 He is an awesome member of the community and stepped in to write a post for me during a super busy time. So, it is my pleasure to return the favor while Rory finishes some work commitments.
I had debated on a few different themes for bases of my Blood Bowl teams. A big mud pit? Hard packed dirt? Manicured pitch?
Each would have been cool to see, but I reminded myself that Blood Bowl is going to be a family and friends style board game. So, doing something quick and straightforward would help get as many teams done as quickly as possible.
I decided on a grassy turf with patches of packed dirt. The effect is quick to achieve and fits right into the playing board.
Agrellan Badland
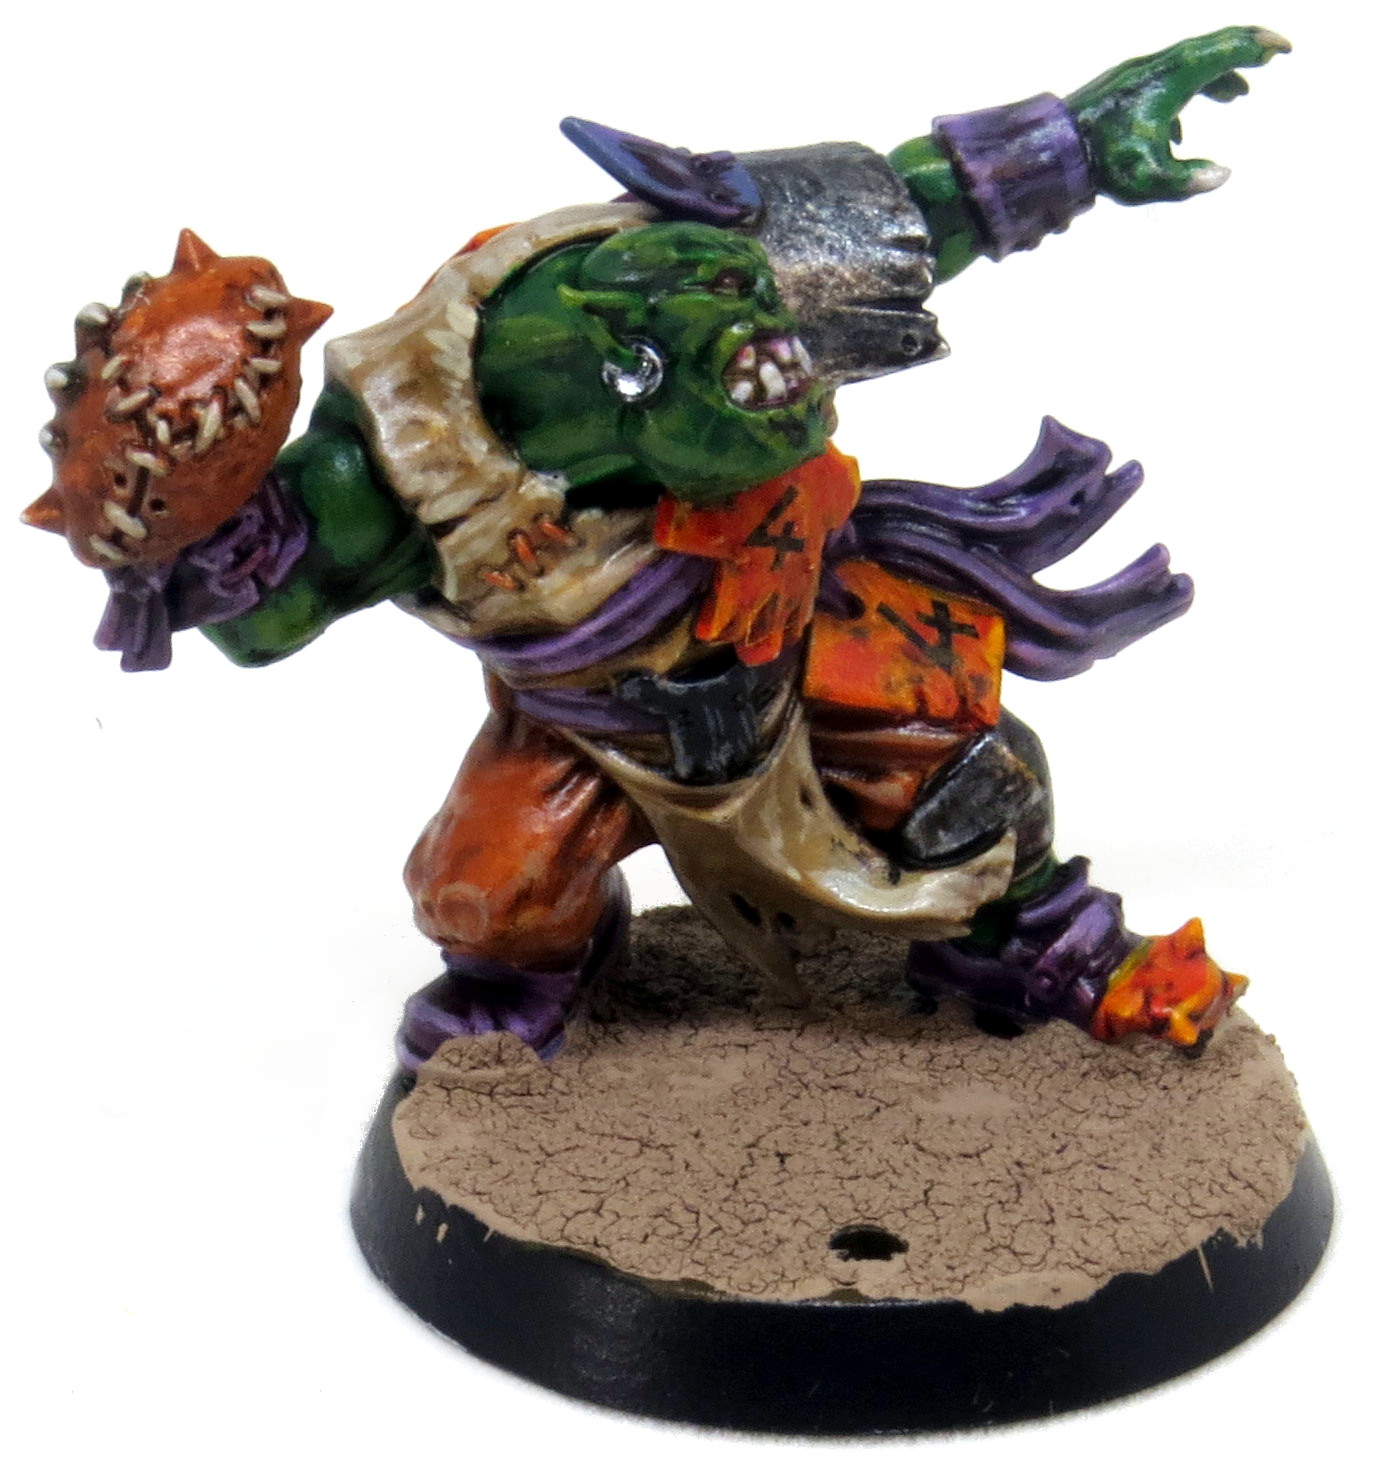
When I had first finished my Orc team, I had painted the base Parasite Brown (GW Skrag Brown). For future bases, I don’t think I will need this coat, as the Agrellan Badlands covers really well.
I used an old, beaten brush to glop this textured paint over the base. Glop is a pretty good way to put it, as the texture paint is thick and flows oddly. A thick layer was supposed to provide deeper cracks whereas mine just broke apart a bit.
In the end, I liked the effect for the packed earth I was going for. Though needing to wait a day before the next step is tough.
Dark Brown Wash
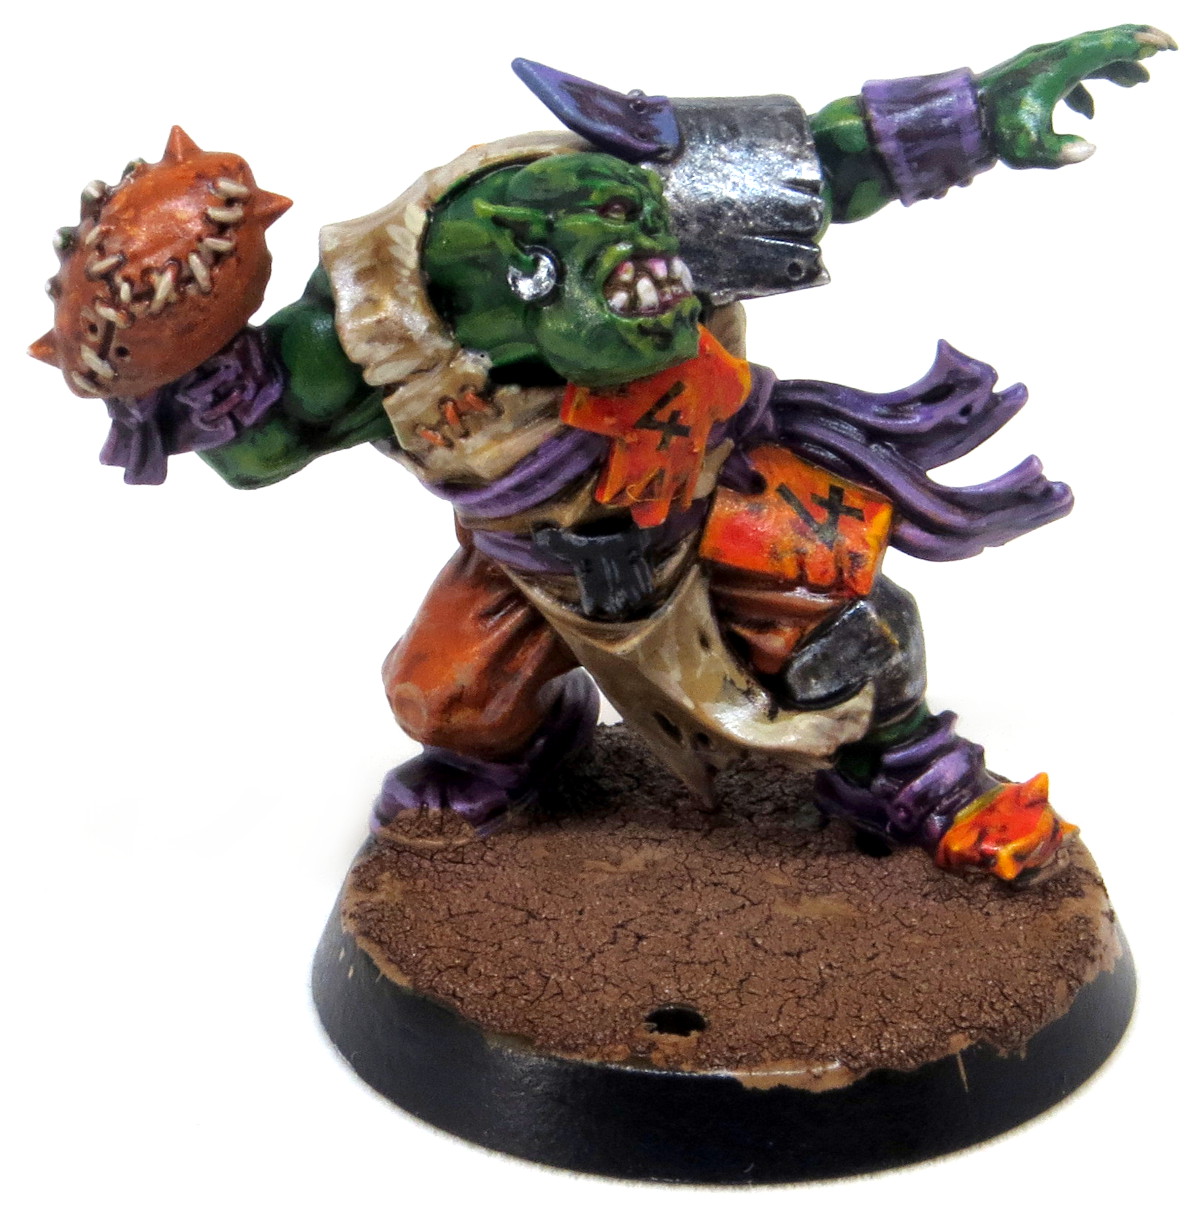
To turn it more dirt like, and shadow the cracks, I did a good coat of Vallejo Dark Brown Wash. Agrax Earthshade would be perfect here as well.
While the wash also took a while to dry, I was able to do it quickly and work on my Dwarf team instead.
Static Grass and Flock

To create the grassy turf, I had tried to find different materials on the local hobby store. Instead, I feel back to a mix I had made forever ago for my fantasy armies. This was a combination of Games Workshop static grass, medium green flock from Woodland Scenic, and a few bits of black ballast from WS.
I mixed up these different materials in the GW tub, though the nature of the static grass makes it difficult to mix. The grass likes to clump, so you may need to pinch and prod to get a good mix.
I used regular white glue and the same beat-up brush to apply a thick layer over most of the base. I left pockets of the packet earth free. Holding the miniature above the tub of static grass, I dumped a bit pile of it over the glue. I then shook the extra back into the bin.
Clean Up
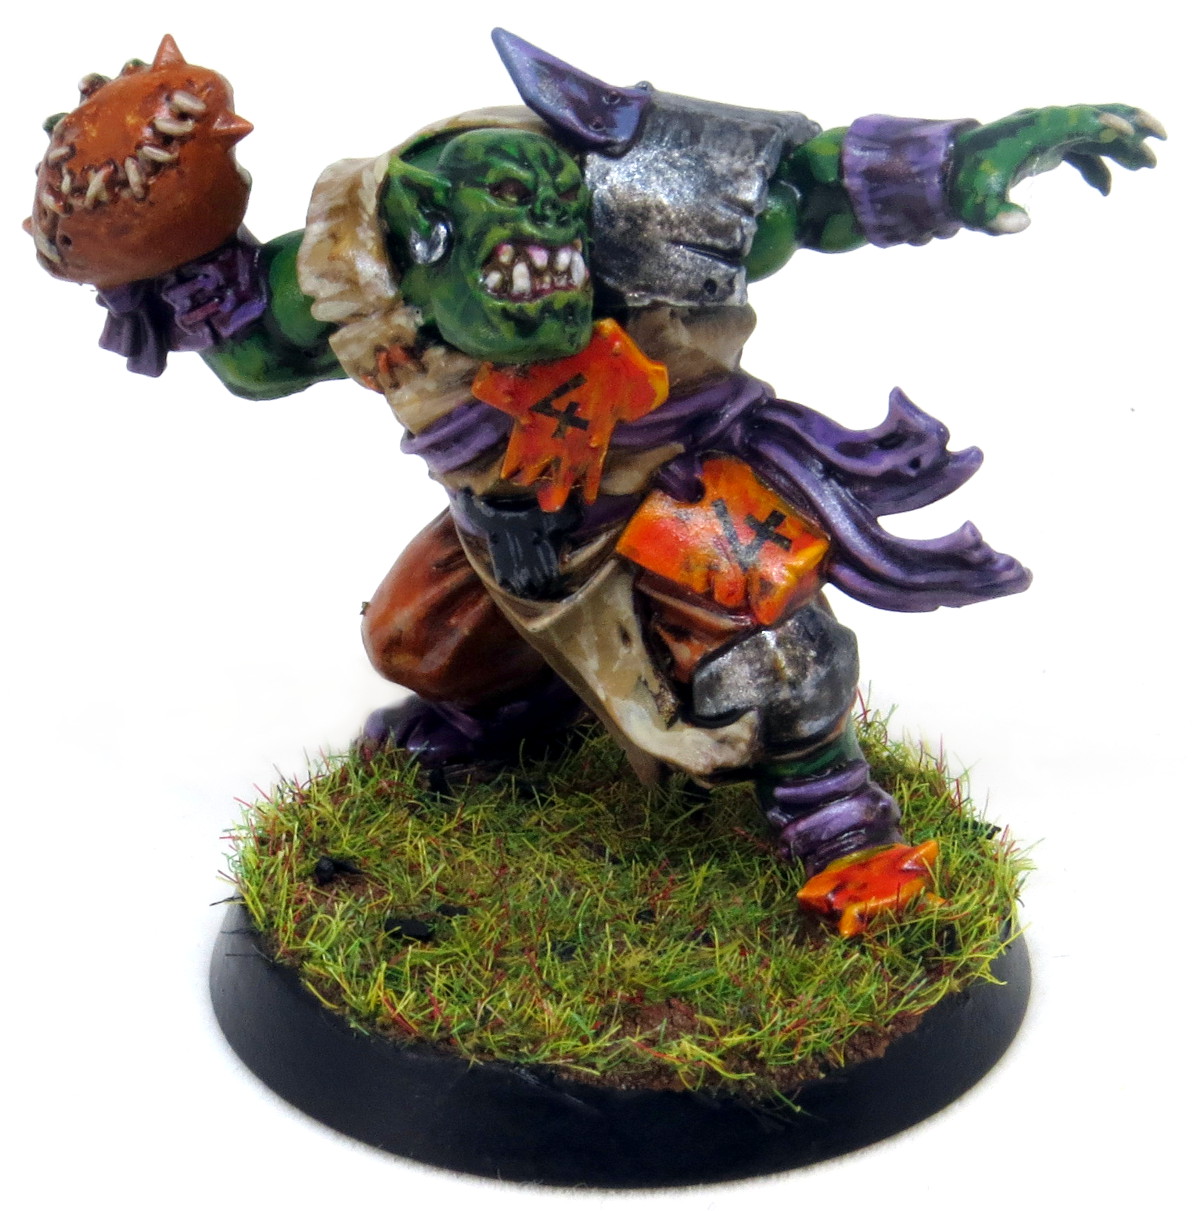
Once the glue dried (yup, this is a long process of waiting!) I cleaned the rim of the base with black paint. A brown rim also looks good, but I’ve liked the look of black rims.
I then gave the model a good spray of matte varnish. This not only protects the paint but helps hold the static grass into place. It can be annoying stuff if it starts to fall off and stick to everything.
The Team
And now with the whole team together!
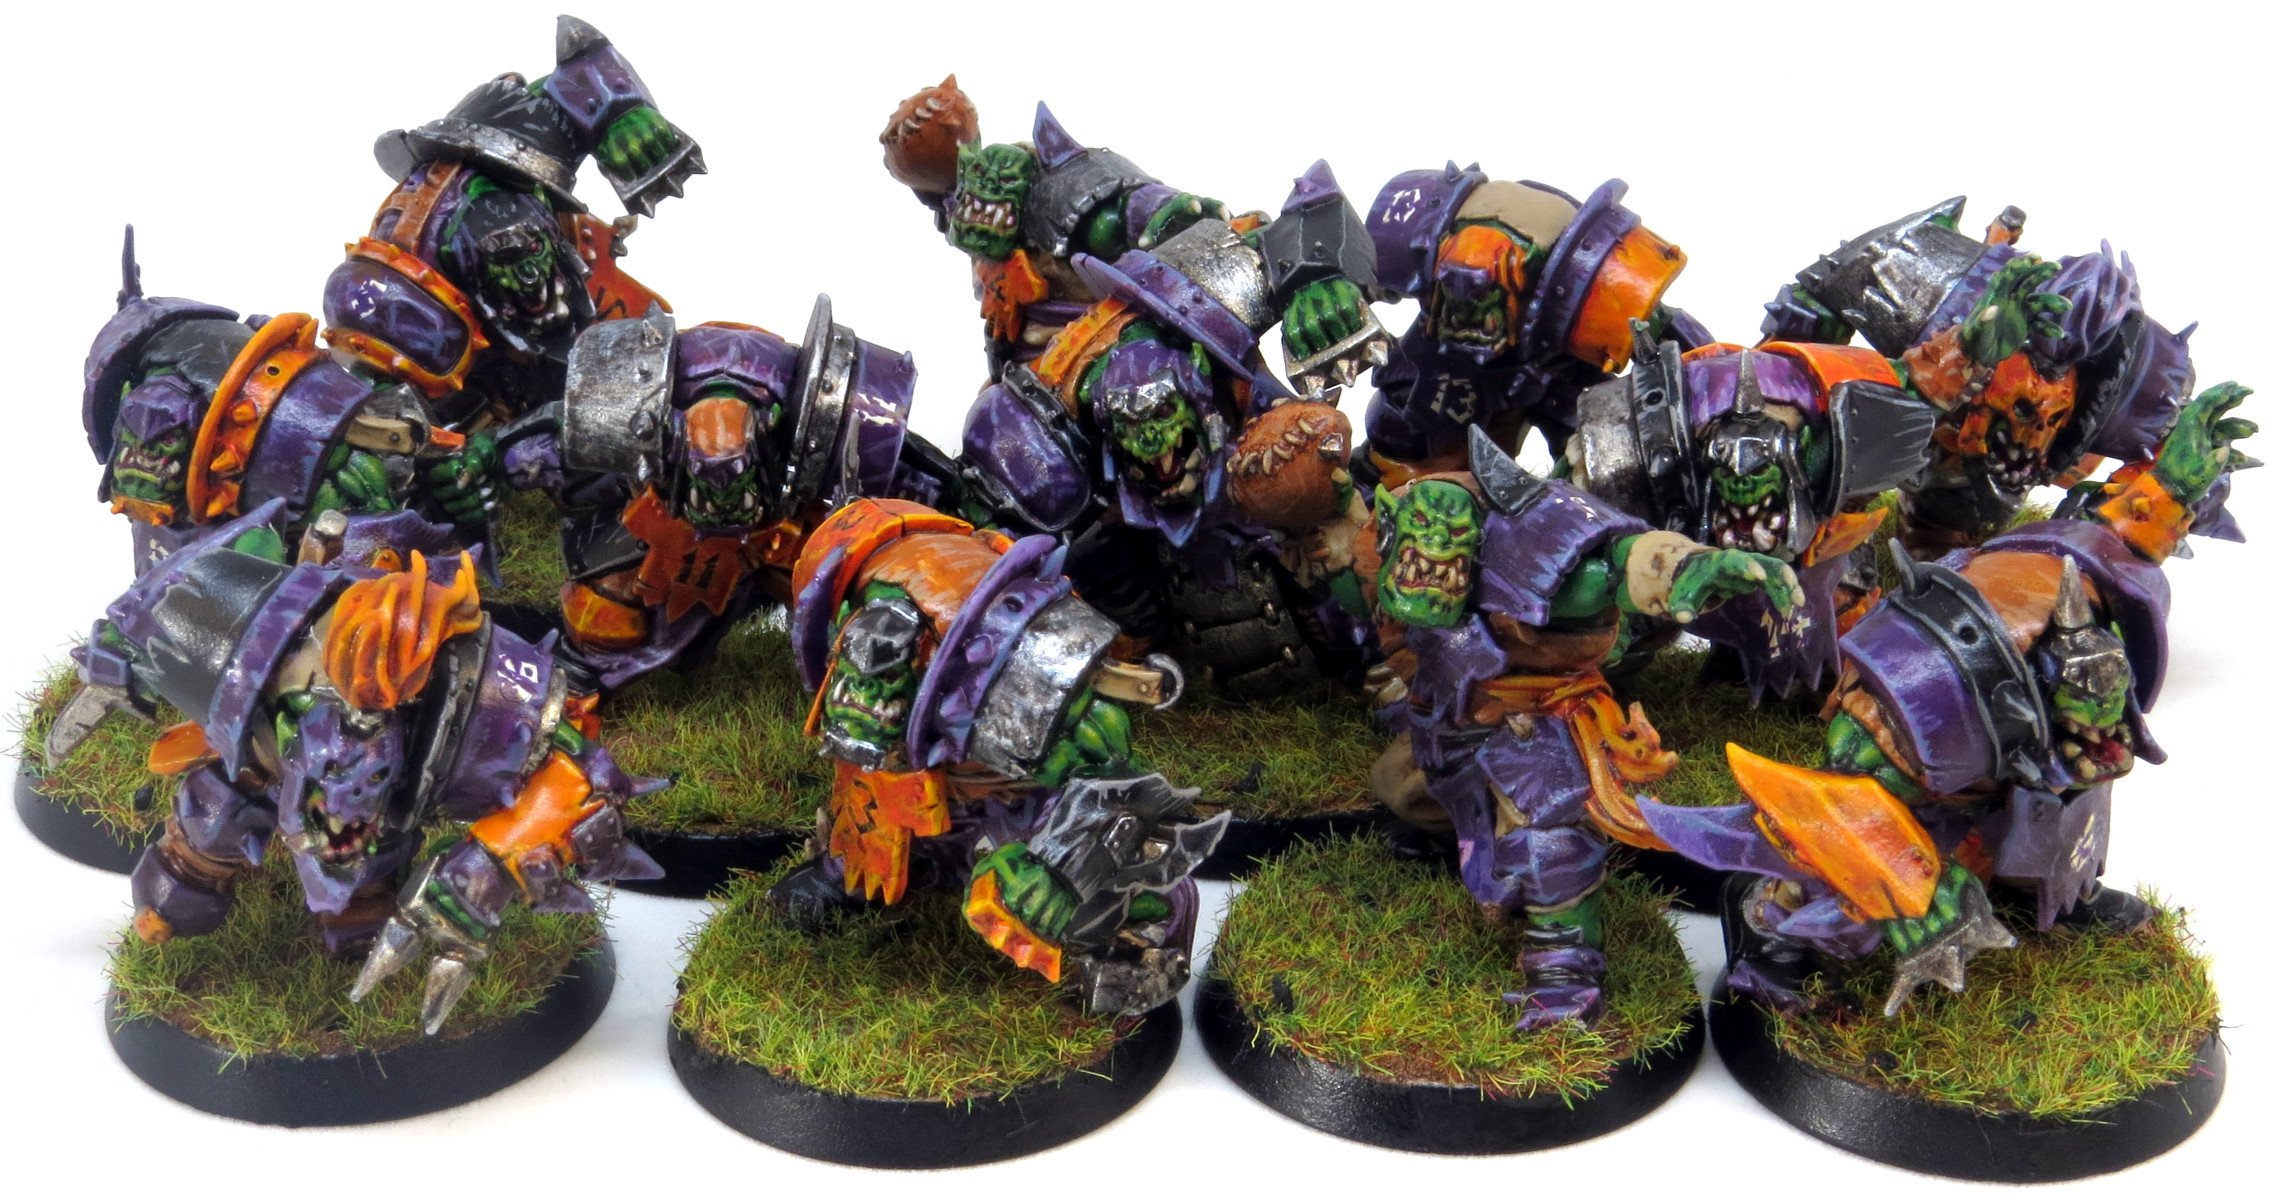
The total amount of time with a brush in hand was only an hour or so for the whole team. I did a layer each day and switched to other projects while I wanted it to dry. I think I could have sped it up with a hair drier, but I wasn’t in a rush and had plenty of other things to work on.
Catch the Rest
I hope this tutorial helps show how easy basing can be. Even if you don’t want such a green playing field, just add less static grass, or use a browner grass mixture. Experiment on spare bases (that’s what I did for mine!) and don’t be afraid to try new things.
You can catch more pictures of my Orc team, the Mighty Squigs, as well as progress on my other Blood Bowl teams at my site BrokenPaintbrush.com. I try to do monthly tutorials like this one as well as highlight other hobby blogger through the Good Reads Series.”
Well done, and it looks great.
I don’t feel that most Blood Bowl models are in need of overly elaborate basing techniques. The simple approach, as you did, is perfect for a team. It just suits the game.
Thanks Thor. I agree that a simpler base works best for the game. I’ll save testing other base styles for any display pieces I get myself into.
I am still thinking about adding the color stripe to each player.
For my next team I’m doing the entire base the positional color rather than the stripe. The stripe is a HUGE pain to do well. It looks cool, but it was a bit frustrating at times.
Yeah that is why I hadn’t done mine! Painting the whole rim is a good idea, though I wonder if it would be too much with certain colors.
An alternative I was thinking about was doing a vertical stripe on all four facings of the base. Do it maybe 3/4″ wide on the front, back, and both sides. That would be far easier to keep looking straight, and shouldn’t be too overwhelming with brighter colors.
I love how the team turned out in the end Joe. Cheers for the guest post and nice tutorial.
Thanks Rory! And thanks for the invitation to post here 🙂
Great basing but not orcish enough. I imagine orcs stadium more rubbish, More scorched? grass and not so green.
But the tutorial is great for basing models.
I can understand that. If I was going all out as an Orc team I probably would have done something more fitting. But since I want to build up a bunch of teams to play with f&f, I figured it would be better to all be the same.